Make a book
A book is a folder of notes and one book note that lists them in reading order.
Make a book from a folder
Section titled “Make a book from a folder”The quickest way to create a book with Orca is from the notes inside a folder.
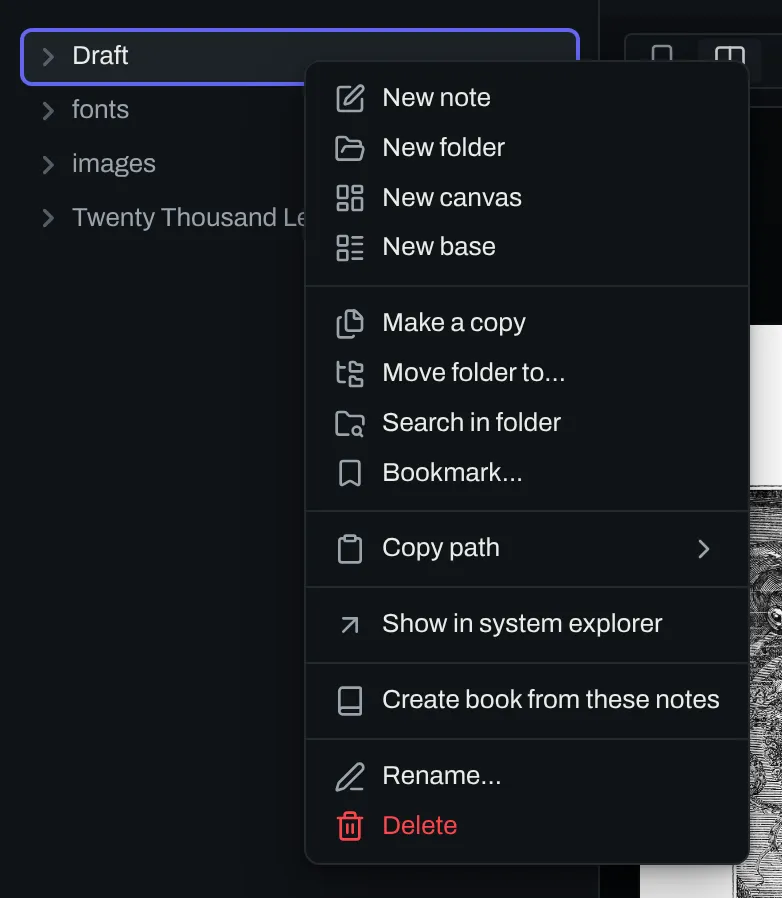
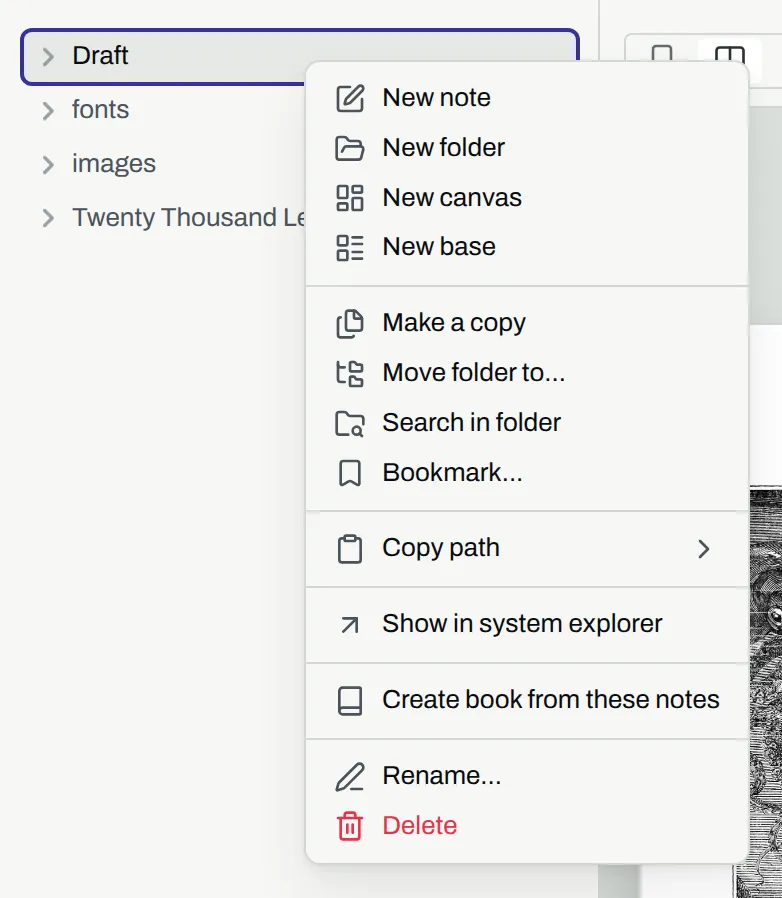
- In the file tree, right-click the folder that holds the chapters.
- Select
Create book from these notes.
Orca creates the book note beside the folder, in the parent folder. The name of the note and its title are the name of the folder. Under the heading # Body, the note links to every note in the folder, sorted by name. The headings # Front matter and # Back matter are empty.
The navigator
Section titled “The navigator”By default, the navigator pane opens in the left sidebar. It shows each book in the vault. To open the navigator, select Open Orca in the ribbon.


To create a blank book, select New book in the header of the navigator. You can also run the command New book. Orca writes a book note with the name Untitled book and opens it.
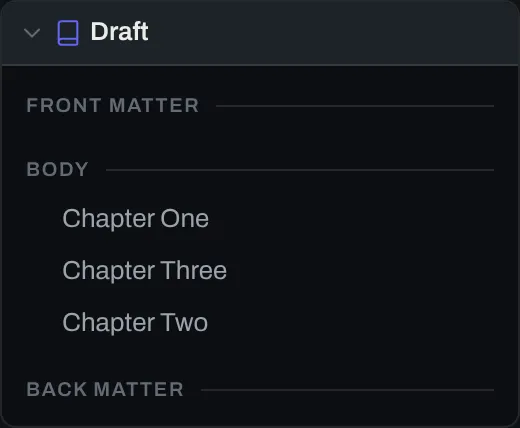
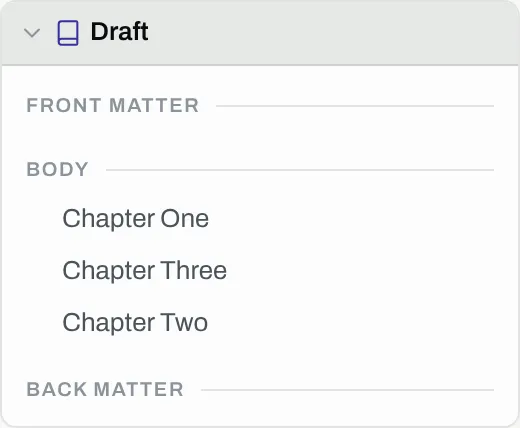
The navigator shows the notes of each book in reading order, divided by section.
- To open the book note, select the name of the book.
- To edit a note, select it. The note opens in the editor.
To change the reading order, drag a note to a new place in the navigator. Sections can also be re-ordered.
Headings in the navigator
Section titled “Headings in the navigator”The navigator can list the headings inside each note, under the entry for that note. A heading row is a way through the book. To change a heading, edit the note.
- Open
Settings, then openOrca. - Turn on
Headings in the navigator. - To list fewer levels, set
Heading levels in the navigator. At 2, the navigator lists H1 and H2.
These two settings are the default for all books. One book can have its own:
- In the navigator, right-click the name of the book. On a phone or a tablet, press and hold it.
- Select
Show headings…. - Select
Hidden, a number of levels, orUse the default. At2 levels, the navigator lists H1 and H2.
The book note keeps the selection.
If a note starts with a heading that has the name of its entry, the navigator does not list that heading.
To go to a heading, select it. If a preview of the book is open, the preview turns to the page where the heading starts. If no preview is open, the note opens at the heading. To open the note at the heading in a new tab, hold Ctrl and select the heading. The navigator marks the row for the page that the preview shows, heading rows included.
Each heading has an arrow that can be used to expand or collapse the entry. Click the Collapse all button to collapse all headings. To show them again, click Expand all.
The arrow keys move through sections, entries and headings as one list. On a row with an arrow, the Right arrow key shows the rows under it and the Left arrow key hides them.
The book note
Section titled “The book note”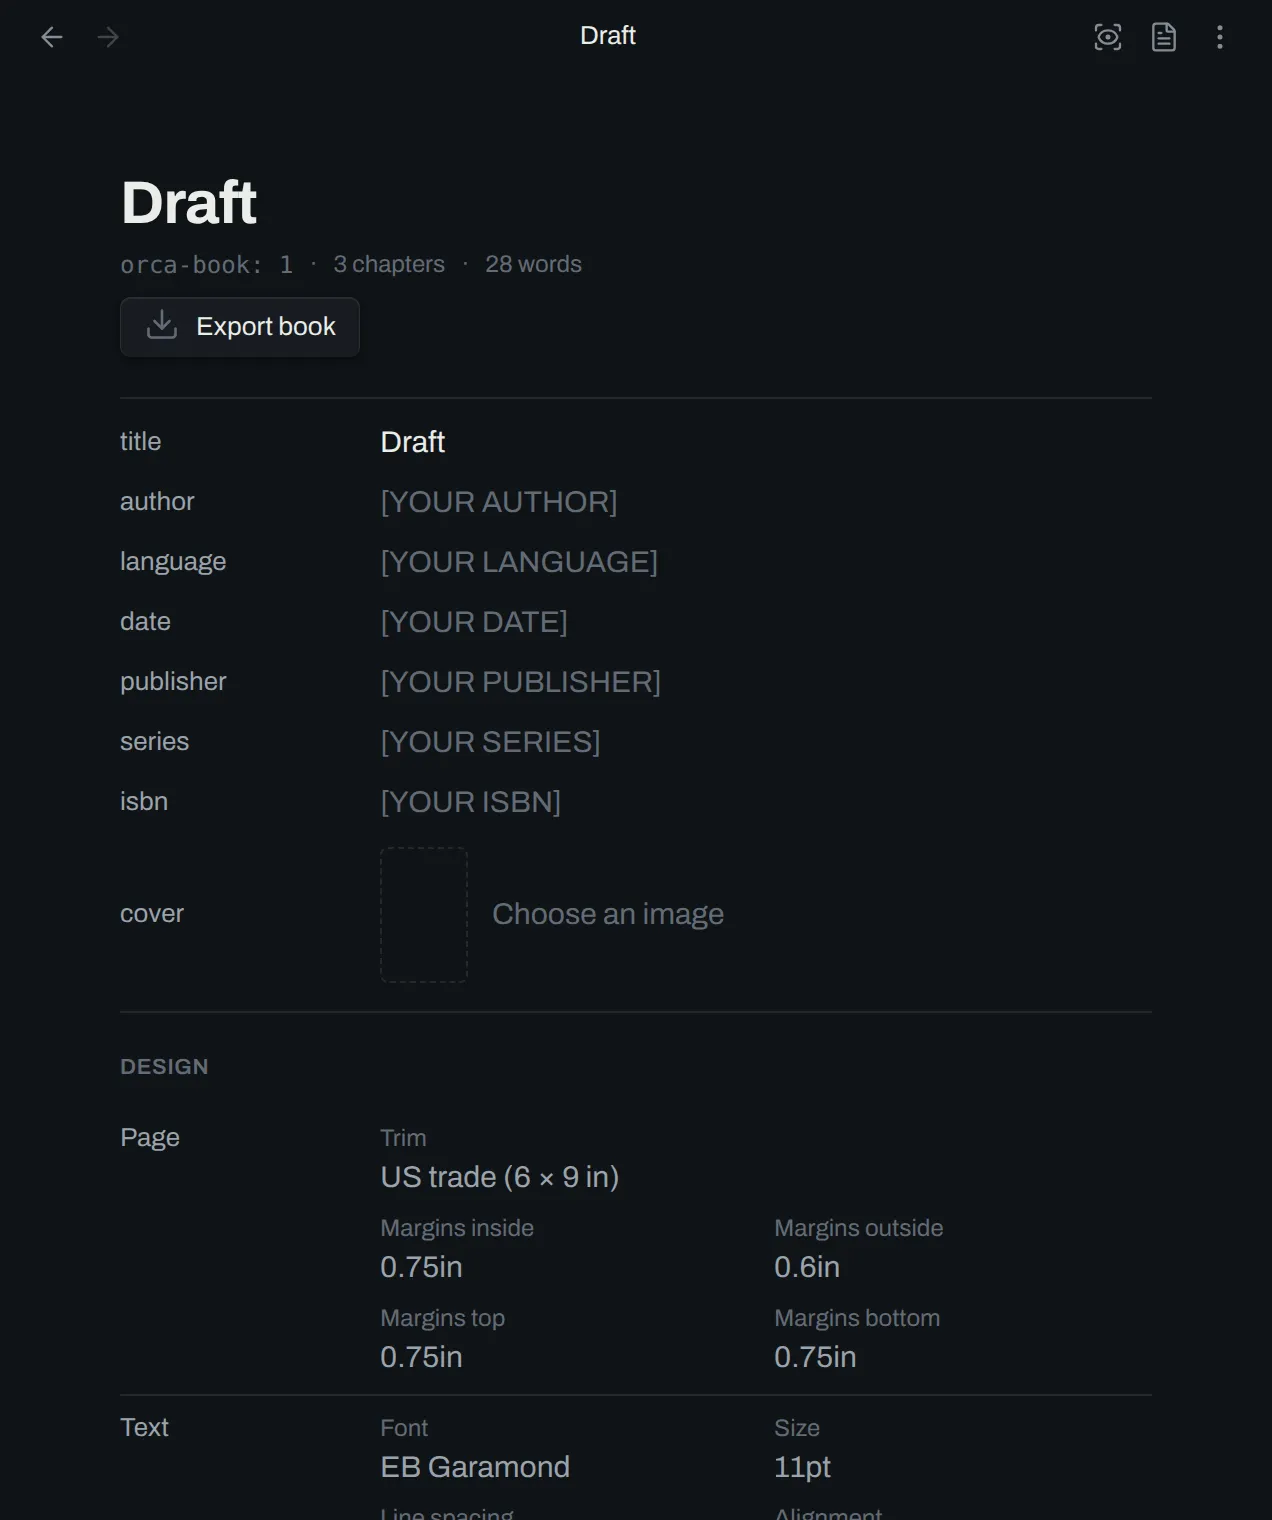
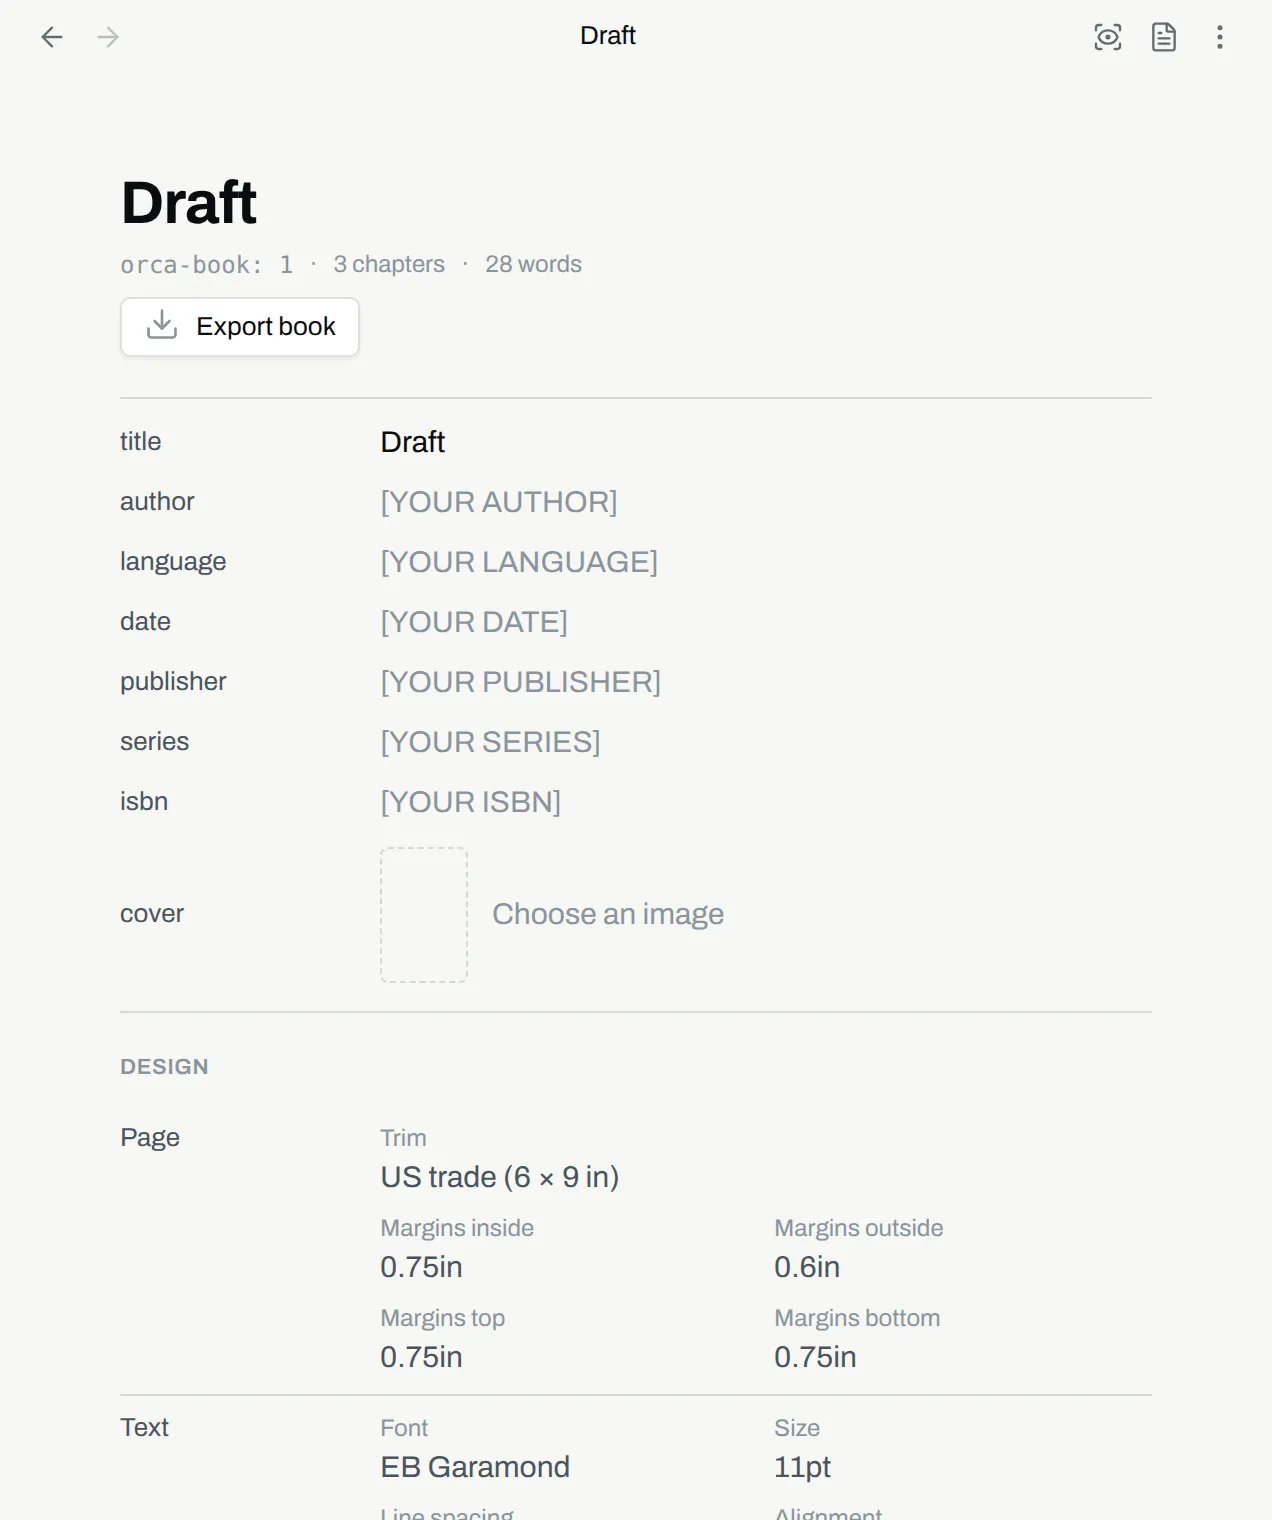
The book note opens as a book page. Book metadata such as title, author, language, and more, can be edited. The book page has two actions in its header:
- Open preview shows the book as typeset pages.
- Open as markdown shows the note as text.
The book note shows its format. Next, read The preview to see the book as typeset pages.